This is a roast-beef sandwich.. For a rosette veneer sandwich, see immediately below:
Applying
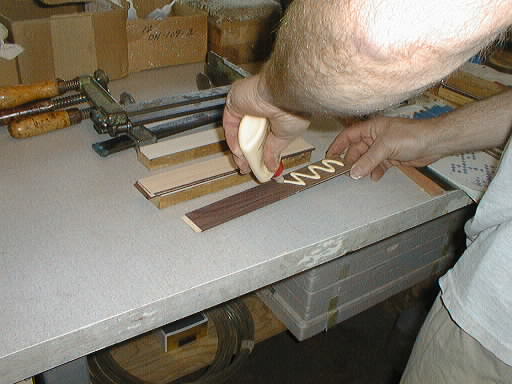
glue to the component veneers of the sandwich.
The variously colored veneers are cut to the same size and placed in the order dictated by
your graph-paper design.
Thus you will make a sandwich for each column in the design. Since you can take many
slices off the sandwich of each column you will be able to make the material for many
rosettes at once with this method.
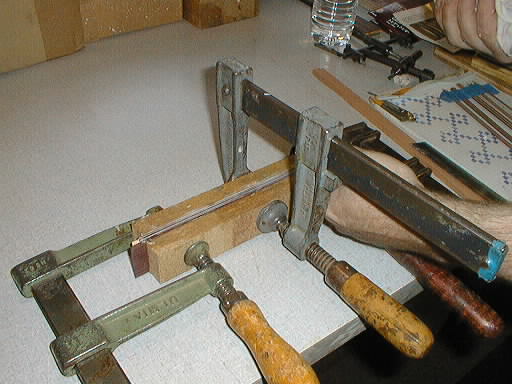
The glued and ordered veneers are clamped firmly together, flattened by two large, stiff, glueing cauls.
Thus each column in the graph-paper design will have its own glued-together sandwich, with its veneers glued together in the color (or specie) order of each column. If your design has eight columns, you will end up with eight sandwiches. Now you can slice each sandwich into thin slats called columns (because they represent the columns in the design). Note that a fine-tooth slitting blade (or "variety saw blade") is used on the table saw, which pokes up through a thin wooden saw-table throat plate--keeping the slats from falling inside the saw. In this way, you can saw many column slices off the edge of the sandwich.
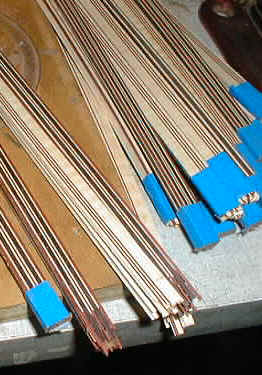
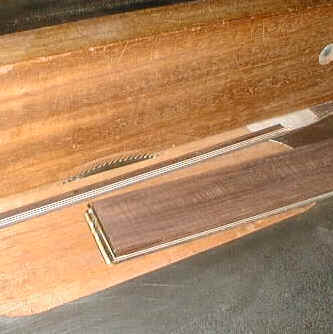
After cutting all the sandwiches into columns, retrieve one column from each pile and assemble them together in their proper order and orientation and tape them together for the time being. They will be tapered and glued into logs.

Thus taped together, the column slats will produce an "end grain" design identical to the original graph-paper design. Alan's column-tapering device is seen on the table nearby.

Tapering: in order for all the elements to fit side by side and form a circular rosette, each must be tapered by a minute amount. The actual taper angle of each element to form a perfect circle when accomodate side-by-side can be calculated mathematically. Generally most marqueters glue the rectangular-cross-sectioned column slates together to form a rectangular log, and then just taper the outer edges of each log "just a little bit" so they will squeeze to gether into a circle. Thus the outer columns of the log will be tapered but the middle columns remain rectangular in cross-section. This results in the common "segmented" appearance of most rosettes. However, Alan goes to the trouble of tapering each individual column slat by the precise amount, so a tapered log is the result. Thus Alan's rosettes are magically seamless and present a uniform, un-segmented field to the view. In order to taper each column slat precisely, Alan has devised this device which presses the slat firmly against a flat background, by means of acrylic plastic hold-downs which have two fingers which are bent down by heat bending, thus pressing down on the slat, but allowing the operator to pull the slat through. The device is attached to a router, as seen below:

The router and its straight cutter is attached to the device in a way which allows Alan to shim it and determine the angle and the height at which the cutter is held over the slat. NOTE: This device is however, extremely dangerous, since the slat can get away from the operator and be launched like a spear across the room or into the operator's hand. Thus extremely heavy gloves must be used (Alan discourages any but the most machine-expert craftsmen to use this device. In early trials, he wounded himself badly until he learned how to manipulate the device. Regardless, he still uses thick, leather protective gloves when using the device--just in case. SO DON'T TRY THIS AT HOME, FOLKS!) The rest of us clowns must be content with tapering the glued-up log with a far safer scraper and sandpaper.