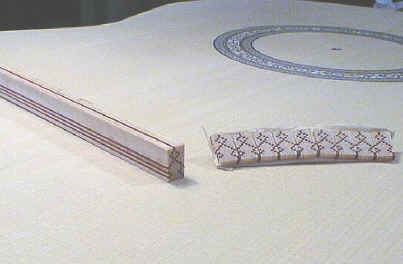
Cutting the tiles off the log
|
Individual "tiles" must now be sliced off the end of the log, like slices off a salami. The pieces must be reserved for the subsequent inlay process. |
|
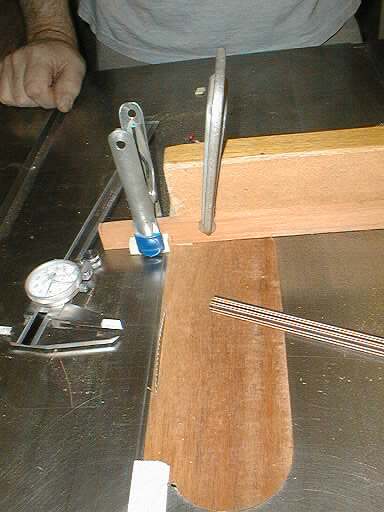
A fine-tooth slitting saw blade is ideal for this purpose, although your garden-variety plywood blade will work--although it will gobble up a lot of valuable stock. A table-saw "throat" is inserted to keep the tiny tiles from falling into the saw. A spring clamp fixing a stop block to an extension on the cross-cutting fence, is adjusted until the precise tile thickness--about two-thirds the thickness of the top--is reached. |
|
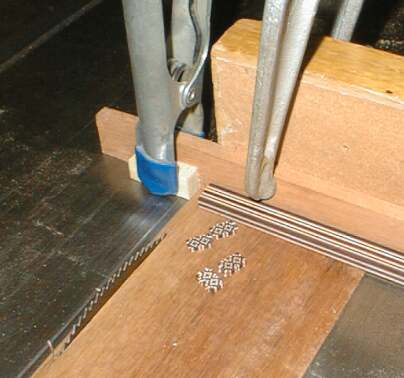
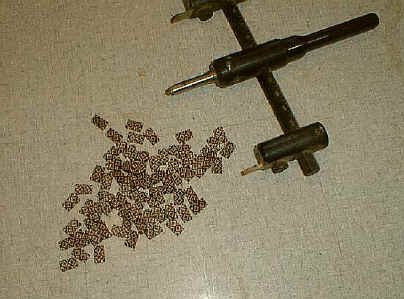
Proceed to slice off the tiles. A log usually yields enough tiles for one rosette. |
|
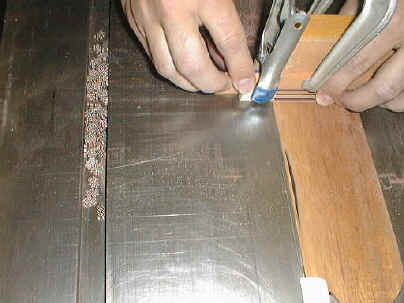
We accumulate the tiles in the adjacent fence slot in the table so they won't scatter and get lost. Each tile must be henceforth examined for flaws: missing bits, and insufficient or uneven thickness |
|
The tiles are now ready for inlaying. A drill-[ress fly-cutter is the ideal tool for that process. |